Quick Facts
- Category: Science & Space
- Published: 2026-05-01 15:04:25
- Beyond GLP-1: Experimental Obesity Drug Targets Five Pathways in Mice
- A Fresh Look for Launchpad: Canonical Begins Modernizing Ubuntu's Development Hub
- 10 Fascinating Facts About NASA Goddard's Greenbelt Visitor Center at 50 Years
- Building Adaptive Ranking Systems for LLM-Scale Ad Models: A Practical Guide
- 5 Must-See Tech Bargains: From Samsung Tablets to Gaming Handhelds
Introduction
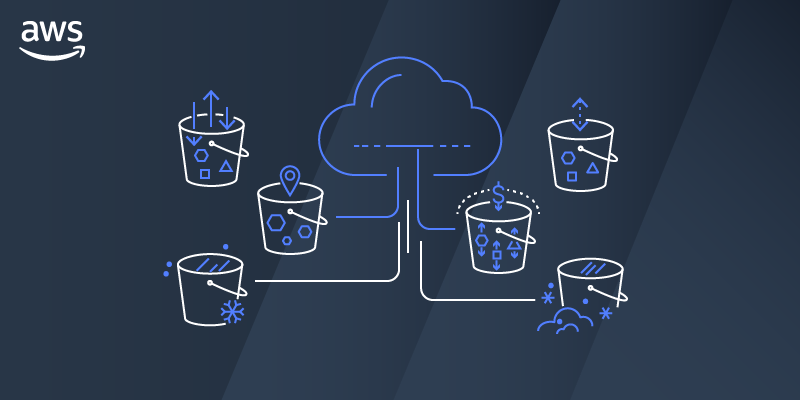
Amazon Simple Storage Service (Amazon S3) now offers account regional namespaces for general purpose buckets. This feature allows you to create buckets with predictable names that are unique to your AWS account and region, simplifying bucket management as your storage needs grow. By appending a unique suffix (your AWS account ID, region, and '-an') to your chosen bucket name, you ensure that no other account can claim the same bucket name in that region. This guide walks you through the prerequisites and step-by-step process to enable and use account regional namespaces via the AWS Management Console, AWS CLI, and AWS SDK for Python (Boto3).
What You Need
- An AWS account with appropriate permissions to create S3 buckets.
- AWS Identity and Access Management (IAM) permissions that allow
s3:CreateBucketands3:GetBucketLocationactions (at minimum). - (Optional) AWS Command Line Interface (AWS CLI) installed and configured. See Step 4.
- (Optional) AWS SDK for Python (Boto3) installed and configured. See Step 5.
- Basic familiarity with the S3 console or command line operations.
Step-by-Step Guide
Step 1: Understand the Account Regional Suffix
When you create a bucket in your account regional namespace, the full bucket name consists of a prefix you choose (e.g., mybucket) and an account regional suffix that AWS adds automatically. The suffix follows this format: -{AWS account ID}-{region}-an. For example, if your AWS account ID is 123456789012, region is us-east-1, and your chosen prefix is mybucket, the resulting bucket name is mybucket-123456789012-us-east-1-an. The combined length must be between 3 and 63 characters.
Step 2: Create a Bucket Using the AWS Management Console
- Sign in to the Amazon S3 console.
- Click Create bucket.
- Under Bucket naming, you will see two options: Global namespace (default) and Account regional namespace.
- Select Account regional namespace.
- In the Bucket name field, enter your desired prefix (e.g.,
mybucket). The console will automatically append your account regional suffix and show the final bucket name. - Configure any additional settings (e.g., versioning, encryption, permissions) as needed. Note that all features available for global namespace buckets are also supported here.
- Click Create bucket.
Step 3: (Optional) Enforce Account Regional Namespace Usage with IAM Policies
Your security team can enforce that users only create buckets in their account regional namespace. Use the new condition key s3:x-amz-bucket-namespace in IAM policies or AWS Organizations service control policies. An example IAM policy statement to allow only account-regional bucket creation:
{
  "Effect": "Allow",
  "Action": "s3:CreateBucket",
  "Resource": "arn:aws:s3:::*",
  "Condition": {
    "StringEquals": {
      "s3:x-amz-bucket-namespace": "account-regional"
    }
  }
}
Step 4: Create a Bucket Using AWS CLI
- Ensure your AWS CLI is configured with appropriate credentials (
aws configure). - Use the
create-bucketcommand with the--bucket-namespaceparameter set toaccount-regional. The bucket name must already include the correct suffix. Example:aws s3api create-bucket \ --bucket mybucket-123456789012-us-east-1-an \ --bucket-namespace account-regional \ --region us-east-1 - Verify the bucket was created by running
aws s3 lsoraws s3api list-buckets.
Step 5: Create a Bucket Using AWS SDK for Python (Boto3)
- Install and configure Boto3 (
pip install boto3). - Use the following Python code to create a bucket in your account regional namespace. The script uses STS to retrieve your account ID and region.
import boto3
from botocore.config import Config

# Initialize clients
session = boto3.Session()
sts = session.client('sts')
s3 = session.client('s3', config=Config(region_name='us-east-1'))

# Get account details
identity = sts.get_caller_identity()
account_id = identity['Account']
region = session.region_name

# Define prefix and suffix
prefix = 'mybucket'
suffix = f"-{account_id}-{region}-an"
bucket_name = prefix + suffix

# Create bucket
response = s3.create_bucket(
    Bucket=bucket_name,
    CreateBucketConfiguration={'LocationConstraint': region},
    BucketNamespace='account-regional'  # Boto3 supports this parameter
)
print(f"Bucket created: {bucket_name}")
Note: In the CreateBucket API call, include the BucketNamespace parameter with value 'account-regional'.

Tips and Best Practices
- Plan your prefix naming convention: Use prefixes that reflect your application or team (e.g.,
logs-prod,data-analytics) to stay organized. - Enforce namespace policies early: Use IAM or Organizations SCPs to prevent accidental creation of global namespace buckets, which could lead to naming conflicts.
- Test in a non-production account first: Verify that your CLI scripts or SDK code generate the correct suffix before rolling out to production.
- Monitor bucket creation: Enable AWS CloudTrail to log all
CreateBucketevents and audit namespace usage. - Remember the length limit: The full bucket name (prefix + suffix) must be 3–63 characters. Keep prefixes short if your account ID and region are long (e.g.,
us-east-1is 9 characters plus 12 for account ID equals 21, leaving 42 characters for prefix). - Use the console for initial learning: The visual interface automatically shows the final bucket name, making it easy to understand the naming convention.
By following these steps, you can confidently create Amazon S3 buckets within your own account regional namespace, ensuring unique bucket names across regions and simplifying governance.